
The purple strip at the top of the Stardust 201 interface is where you’ll load, save, and create presets. It also contains utility functions such as undo/redo, UI zoom and Focus controls, under-the-hood settings, and more. Let’s go over them:
New- Opens a new blank preset. If an unsaved preset is currently open or you’ve modified an existing saved preset, a dialog asks if you’d like to save the preset in its current state. This greatly reduces the possibility of losing an edited unsaved preset.
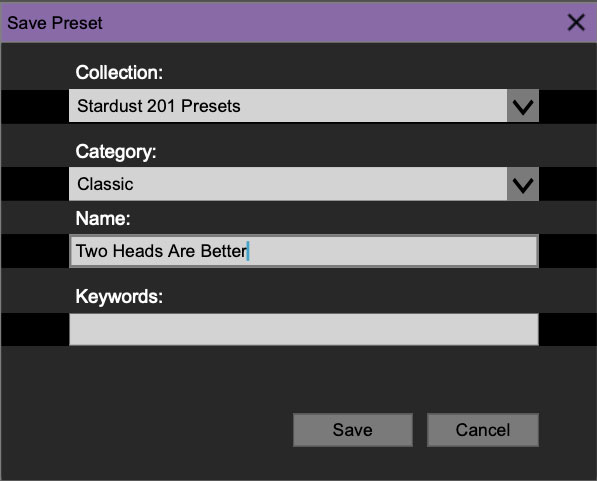
Save- Use this to save presets. There are a couple of levels of hierarchy:
Collection- This is the top level of organization, and contains entire “sets” of presets. The Stardust 201 Presets are the main included collection. We also include a User Presets Collection for storing your own presets, but you’re free to create your own collections. To create a new collections, click in the Collection text field (where it says User Presets above) and type a name. User-created presets can be freely saved to any collection; we like to keep ‘em separated for organizational purposes.
Categories- Within each Collection are a number of preset categories. As with collections, you’re free to create as many categories as you like. To create a category, click in the Category text field of the Save dialog window and type a new category name.
Preset- To save a preset, simply type the name in the Name field and click Save.
Keywords- You can add descriptive words such as “echo,” “feedbacky” etc., to presets to make them appear when terms are typed in the Search field. Use commas to separate multiple keywords entries.
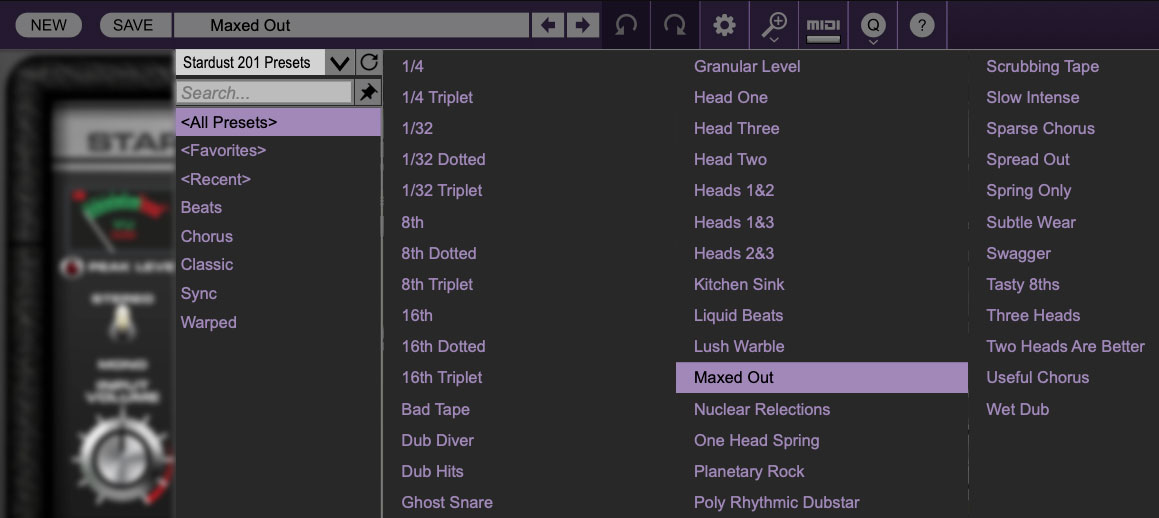
Browsing Presets- Presets can be browsed by clicking the <Select Preset> field. To select a preset collection, click in the area that says <All Collections> or on the downward-facing arrow next to it.
Clicking on the left-side categories narrows down which presets are displayed.
<All Presets> will show presets from all collections and categories.
<Recent> displays recently used presets.
Refresh- This is the circular arrow button to the right of the downward arrow; clicking this checks the Cherry Audio server for new or updated presets.
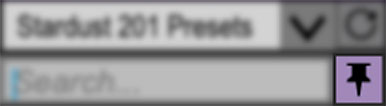
Pin- Clicking the push-pin icon locks the preset selection list open, allowing fast and easy browsing and auditioning of prests. Click the icon again to disable pin mode. when in pin mode, the up and down arrow keys can be used to select presets.
Preset- Step Back/Forward Arrows- These step to the previous or next preset.
Undo/Redo- These circular arrows will undo or redo the last action. It remembers many steps, so if you really loused something up, keep on clickin'...
Settings- This is where user preferences for user interface, audio interfaces, user account, and more are configured. See the Settings section for full information.
Importing Presets with drag-and-drop
Presets can be imported singly or en masse (as a single compressed ZIP file) simply by dragging and dropping from the desktop anywhere on the user interface.
If a single .*preset file is dragged and dropped, the sound is immediately loaded and the standard Save Preset dialog appears; this lets you save the sound to the instrument's preset browser. Note that you don't have to save the sound to preset browser; if you just want to hear and play the sound, click the Cancel button in the Save Preset dialog - the sound will still be loaded.
Compressed zip files containing multiple sounds can also be drag and dropped onto the UI. This works the same as with single sounds, but instead of the Save Preset dialog, you'll see the Import Preset Collection dialog. The presets will be added as a new collection and available in the categories for which they were tagged.
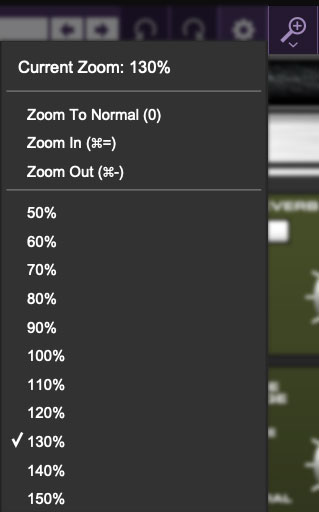
Zoom Magnifying Glass- Click to resize the Stardust 201 interface. Selecting 100% returns the user interface to native size.
MIDI Tab- Opens the MIDI controllers tab for configuring internal and hardware MIDI controls. See the MIDI Controllers Setup and MIDI Tab section for full information.
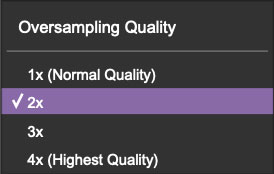
Oversampling Quality (Q)- The Q button sets Stardust 201's internal oversampling rate; the higher the setting, the better audio fidelity will be, with the caveat that more computer processing power will be required.
Internal processing can be set to 1x (the same as the host DAW's current sample rate) or to 2x, 3x, or 4x the current sample rate. The sample rate is downsampled at the instrument output stage to match the current host sample rate.
For example, if the current DAW/instrument sample rate setting is 48 kHz, and oversampling is set to 2x, Stardust 201's internal processing runs at 96 kHz, and is then reduced back to 48kHz at the output stage.

When oversampling is set to any multiple greater than 1x, the Q button glows yellow.
Dependent on a number of factors (audio system D/A converter quality, monitor speakers, etc.), you may not hear a big difference with higher settings. Generally speaking, audible differences may be noticeable if the audio contains a great deal of high harmonics.

Help- Clicking this launches your web browser and opens the help document you’re currently reading.
Cherry Stardust 201 and Cherry Audio logos - Clicking either one of these displays “about” information, and shows the version number and current registered user ID.
Preset List Right-Click Functions
Show File- This displays the selected preset in the Mac or Windows folder containing it. This is useful for backing up or sending a preset file to another user.
Show In Original Category- Selects the preset within its category, i.e. the category will highlight in the left preset menu. The Show In Original Category command only displays if the preset was selected within the <All Presets>, <Favorites>, or <Recent> categories.
Favorites- Favorited presets will show in when the <Favorites> category is selected. A star will display next to the preset name. Right-click on the preset and reselect Favorite to un-favorite it. (Or say something nasty about its mother.)
Delete- Deletes the selected preset.
Restore Factory Preset- If one of the factory (i.e. not user) presets is edited and saved, selecting this command restores the patch to its unaltered "factory" setting. This menu will be grayed-out for user bank patches.
Restore All Factory Presets From 'Stardust 201 Presets'- If any presets from the "factory" Stardust 201 bank are edited and saved, selecting this command restores all of them to their unaltered "factory" setting.
Restore All From Factory- If any presets from the "factory" banks are edited and saved, selecting this command restores all of them to their unaltered "factory" setting. At the time of writing, the Stardust 201 bank mentioned above is the only factory bank, so this function and the 'Restore All Factory Presets From 'Stardust 201 Presets' above have the same effect.